
Last updated November 22, 2026
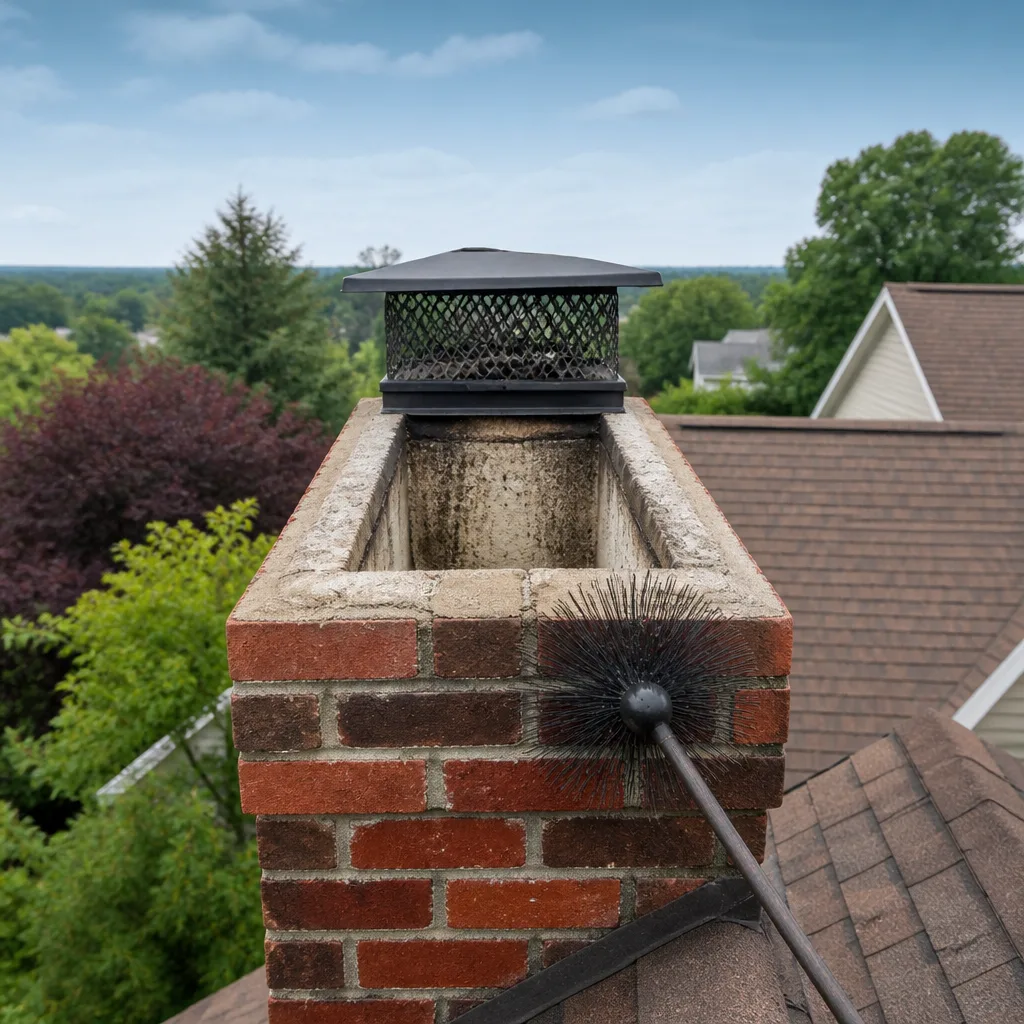 Sweep & inspection
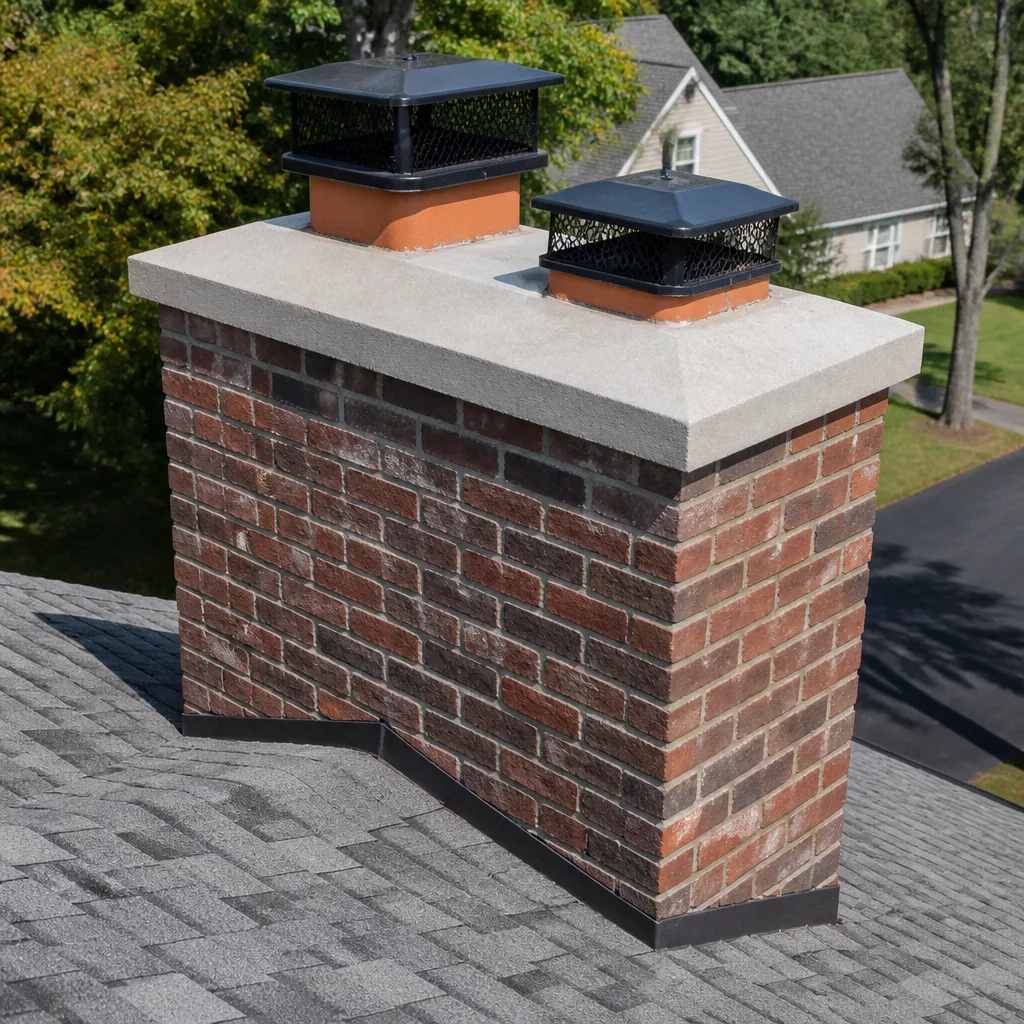 Caps & crowns
 Flue relining
 Masonry repair
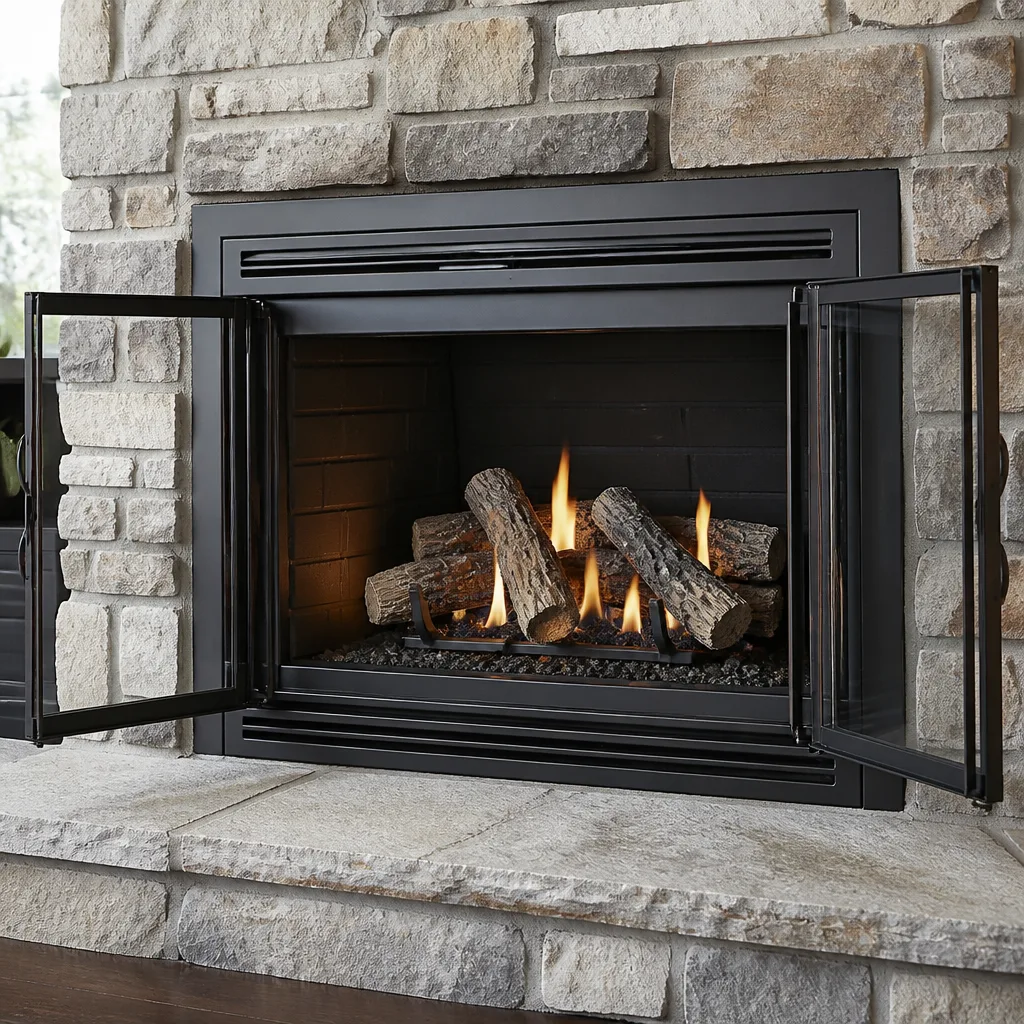 Gas fireplace service
Level 1 sweep and inspection to the NFPA 211 annual standard - flue, crown, cap, and flashing checked and photographed
Chimney sweep logs do not sweep chimneys. They loosen some creosote - which then falls where a brush and vacuum still have to collect it.
Chimney Sweep Maintenance Checklist for East New York Homeowners
Telling a homeowner to “schedule annual cleaning” is like telling them to “eat healthy” – technically correct, completely useless without specifics on what to look for and when to act. Most chimney advice stops at a calendar reminder and never tells you what a failing crown, a pulling flashing, or a glaze-stage flue actually looks like from the ground. This guide fixes that. Every component of the chimney system gets a plain pass/fail test, a measurement you can take yourself, and a clear line where the job leaves your hands and belongs to a trained technician. Whether your place is a wood-frame house off New Lots Avenue or a brick rowhouse near Broadway Junction, you’ll finish this with a checklist you can actually run in East New York.
Quick Answer
A chimney maintenance checklist for East New York homes covers ten components – crown, cap, flashing, exterior masonry, damper, smoke shelf, firebox, flue liner, creosote depth, and draft – and each one has a specific failure sign you can check yourself between professional visits. Act on a professional call when creosote reaches 1/8 inch, when you see daylight through mortar joints, or when the damper won’t seat flush. Everything else can wait for your next booked sweep, and a written inspection with photos tells you exactly what’s urgent and what isn’t.
Styles & brands we work with
- Sweep & inspection
- Caps & crowns
- Flue relining
- Masonry repair
- Gas fireplace service
Table of Contents
- Why a Condition-Based Checklist Beats a Calendar
- Exterior Checklist: Crown, Cap, Flashing, and Masonry
- Interior Checklist: Damper, Smoke Shelf, Firebox, and Liner
- Creosote: The 1/8-Inch Rule and What It Means
- How to Run a Smoke Test Before the First Fire
- Brooklyn Weathering Factors and Early Spalling
- Documentation: What to Photograph Each Year
- When to Book a Professional Sweep
Why a Condition-Based Checklist Beats a Calendar
A calendar tells you to book a sweep every year. It doesn’t tell you whether your chimney needs one this year or can safely wait two. That gap is where homeowners get sold work they don’t need and miss damage they can’t see. A condition-based checklist flips the question from “when was it last cleaned?” to “what does it look like right now, and is that acceptable?” That’s a question you can answer yourself for most of the chimney system.
Think of the chimney as a system, not just a flue. The crown sheds water. The cap keeps rain and animals out. The flashing seals the roof penetration. The liner contains combustion gases. Each part protects the next, and when one fails, the failure moves inward. A cracked crown lets water into the masonry, water freezes and expands, and within a couple of freeze-thaw cycles the brick face is spalling. None of that shows up on a calendar – it shows up in the condition of the crown.
Here in East New York, most of the housing stock is older masonry, and much of it was built with materials and methods that have aged differently depending on exposure. Roofs here take full winter wind and sun, and the exposed crowns on two- and three-story houses weather faster than the sheltered sides. That’s why the checklist that follows is organized by component with a specific pass/fail test for each. Run it once in early fall before your first fire, and again in spring after the heating season ends. Two walkthroughs a year catch almost everything before it becomes expensive.
The checklist below is what a trained technician looks at during a chimney sweep visit, translated into the parts a homeowner can inspect safely from the ground or the hearth.
Exterior Checklist: Crown, Cap, Flashing, and Masonry
Start outside. The exterior problems are the easiest to spot and the most damaging when ignored, because water is the enemy of every masonry chimney. Do this inspection on a dry day with good light, using binoculars from the ground if you can’t safely view from a window. Never climb onto a roof to inspect your own chimney.
Crown
The crown is the concrete or mortar cap on top of the chimney that sheds water away from the flue. Pass: a continuous, gently sloped surface with no visible cracks and no overhang separation from the masonry below. Fail: any crack wide enough to catch a fingernail, a crown that has pulled away from the brick (you’ll see a gap at the joint), or a crown that slopes toward the flue instead of away from it. A failing crown lets water pool at the top of the chimney, and that water goes straight into the flue walls.
Cap
The cap is the metal or masonry cover over the flue opening. Pass: intact mesh or screen, securely fastened, no rust-through, and mesh openings small enough to keep out birds and squirrels. Fail: torn or missing mesh, a cap sitting loose in wind, or a cap that has rusted through so rain blows in. Caps are cheap insurance against water and wildlife and are one of the fastest jobs a specialist can do.
Flashing
Flashing is the metal that seals the joint where the chimney meets the roof. Pass: metal lying flat against the masonry and roof, no lifting edges, no gaps, and sealant that’s still bonded. Fail: flashing that’s pulling away, rusted through, or sealed with cracked caulk. Lifted flashing is one of the top sources of roof and ceiling leaks around a chimney. If you see staining on the ceiling near the chimney, flashing is the first suspect.
Exterior Masonry
Look at the brick and mortar from the ground. Pass: mortar joints that are full and firm, brick faces that are intact, and no white chalky bloom (efflorescence) that keeps returning after rain. Fail: visible daylight through a mortar joint when you sight along the wall, crumbling or recessed mortar, brick faces flaking or falling away, or a lean in the chimney stack. Daylight through any mortar joint is a fail that calls for a professional assessment, not a tube of caulk.
If the crown or cap is failing, address it early. Our chimney cap & crown work exists because those two components protect everything below them.
Interior Checklist: Damper, Smoke Shelf, Firebox, and Liner
Inside, with a flashlight and a cold fireplace, you can check four components without tools and without climbing into anything. Wait until the firebox is fully cold – no embers, no warmth to the touch – before you put your hands anywhere near the damper or firebox.
Damper
The damper is the metal door above the firebox that controls airflow. Pass: opens fully, closes snugly against its frame, and moves without grinding or sticking. Fail: a damper that won’t seat flush (meaning it can’t seal, so heated air escapes up the chimney when the fireplace is idle), a damper that’s rusted open, or one that won’t stay open on its own. A damper that won’t seat flush is a clear trigger for a professional call.
Smoke Shelf
The smoke shelf is the ledge just behind the damper that turns smoke back up the flue. Pass: clear of soot buildup and debris. Fail: a heavy crust of soot, or debris that’s fallen down and collected on the shelf. A blocked smoke shelf causes smoke to roll into the room instead of going up.
Firebox
The firebox is the firebrick-lined chamber where the fire burns. Pass: firebrick intact with full mortar joints, no missing bricks, and no cracks you can see daylight through. Fail: cracked or missing firebrick, crumbling joints, or a firebox wall that has pulled away from the surround. A cracked firebox lets heat reach the structure behind it, which is a genuine fire risk and belongs on the professional list.
Liner
The liner is the flue itself – clay tile, or in newer or relined chimneys, a flexible stainless system. Pass: continuous inner surface with no gaps between tiles and no visible cracks from below. Fail: missing or cracked tile segments, gaps between flue tiles, or a liner that’s separated from the surrounding masonry. Damage you can see from the firebox usually means there’s more above that you can’t see, which is why inspection with a camera matters.
Clay-tile liners that have cracked are often candidates for restoration rather than full replacement. That’s where professional-grade systems like HeatShield or a flexible DuraFlex liner come in – work that requires a trained hand and proper materials, not a hardware-store patch.
Creosote: The 1/8-Inch Rule and What It Means
Creosote is the tar-like residue left by burning wood. It comes in three stages, and the difference between them is the difference between “sweep when convenient” and “don’t burn until this is removed.” The single most useful threshold a homeowner can know: when creosote reaches 1/8 inch (about 3mm) of thickness anywhere in the flue, book a sweep before your next fire. That’s the rule professionals work to, and it’s a measurement you can reason about even from the firebox.
Here’s how the three stages differ in what you’ll see:
- Stage 1 – soot and light flake. A thin, powdery or flaky coating. This is normal after a season of burning. It’s removed during a routine sweep.
- Stage 2 – hard, shiny black crust. Creosote that has baked onto the flue wall. This is where the 1/8-inch rule kicks in. It’s harder to remove and needs proper sweeping tools.
- Stage 3 – glazed, tar-like coating. Concentrated, hardened, and highly combustible. At this stage a routine brush is often not enough. A professional may need chemical sweeping or liner restoration, and burning in the meantime is a real hazard.
You cannot measure creosote thickness yourself from the firebox – only a technician with a camera and a flue brush can see the full interior. What you can do is check what type of deposit you’re seeing at the top of the firebox and be honest with yourself about burn quality. Wood that’s wet, smoldering, or unseasoned produces far more creosote. If your chimney cap is black and sticky, that’s a sign to book a sweep early.
This is why “how often should a chimney be swept” has no single answer. A homeowner burning dry, seasoned hardwood several times a month needs a sweep on a different schedule than someone burning wet wood every day. The 1/8-inch threshold is your anchor.
How to Run a Smoke Test Before the First Fire
Before your first fire of the season, run a smoke test. It tells you whether the chimney is drafting correctly before you commit to a full fire. The test is simple and safe – you don’t light a fire, you don’t use the fireplace, you just confirm air is moving up the flue instead of back into the room.
- Open the damper fully and confirm it stays open.
- Crack a nearby window just an inch or two to give the room some makeup air.
- Roll a sheet of newspaper into a loose tube and light one end away from the firebox.
- Hold the smoking newspaper just inside the top of the firebox, taking care to stay clear of the flames and to hold it with metal tongs or a poker.
- Watch the smoke. It should be drawn up the chimney quickly. If it drifts into the room, hovers at the firebox, or blows back, the draft is reversed or blocked.
A chimney that fails the smoke test is telling you something – a blocked flue, a closed or broken damper, a cold flue that needs priming, or a problem at the top of the stack. Don’t light a fire until you know which. A reversed draft can push carbon monoxide and smoke into the room instead of up and out, and that’s the kind of thing to fix, not work around. If your smoke test fails, book a professional look before the season starts.
Brooklyn Weathering Factors and Early Spalling
Brooklyn’s weather is hard on masonry, and East New York chimneys feel it directly. The cycle that matters most is freeze-thaw. Water gets into a crack, freezes overnight, expands, and widens the crack. It thaws during a milder day, the water seeps deeper, and it freezes again the next night. Repeat that cycle over a winter and small cracks become structural.
Exposed crowns take the full force of this cycle because they’re open to rain, snow, and sun from all directions. Flat or slightly sloped crowns with shallow cracks are the first thing to suffer. That’s why the exterior crown test matters more here than the calendar does – a crown that looks fine in October can spall by February.
Wind exposure compounds it. Chimneys on taller houses or on the windward side of a block shed heat faster and take more precipitation directly on the crown and stack. Any crack facing the prevailing wind direction ages faster.
Spotting Early Spalling
Spalling is brick face flaking or breaking away from the body of the brick. It starts small and progresses quickly once freeze-thaw gets a grip on it. Watch for:
- Thin flakes or flat chips lying at the base of the chimney on the roof
- Brick faces that look “peeled” or have shallow divots
- Successive layers of thin flakes accumulating over one winter season
- White efflorescence that keeps returning on the same bricks after rain
Caught early, a spalling chimney is a restoration job. Caught late, it’s a rebuild. If you see flakes accumulating, book a professional look rather than waiting for the next scheduled sweep. That’s the difference a condition-based approach makes in an East New York winter where temperature swings are hard on masonry.
Documentation: What to Photograph Each Year
The single best habit a homeowner can build is a yearly photo record. Photos don’t just help you – they help your technician compare this year’s condition against last year’s and see exactly where change is happening. The point isn’t to diagnose; it’s to give a specialist a baseline. Here’s what to photograph in the same order, once a year, on a dry day:
- The crown. Shoot from above if you can safely view from a window, or from the ground with a telephoto lens. Crop tight to the crown. Capture the whole crown and any cracks.
- The cap and its mesh. Straight-on, close enough to see whether the mesh is intact.
- The flashing where the chimney meets the roof. Capture the full joint from both sides if you can reach the view safely.
- The upper stack and exterior masonry from ground level, one photo straight-on and one from the sunward side (so cracks stand out in the light).
- The firebox after sweeping the ash out – shoot firebrick joints and any cracks in the surround.
- The damper in both open and closed positions.
- The top of the firebox looking up into the flue, with a flashlight lighting the liner as far as you can see.
- The base of the chimney on the roof to catch flakes of spalling brick or debris on the roof surface.
Keep the photos in a folder named by year. When you book an inspection, share last year’s and this year’s – the technician can compare instead of starting from zero. That habit is worth more than any single product or fix. It’s how you stop paying for the same diagnosis year after year and start tracking real condition.
For our part, we include a camera inspection and a photo report with the sweeps we carry out, so you get that documentation whether or not you’re already snapping photos. Inspection is booked as its own service, so you always get a straight assessment with nothing recommended that isn’t backed by what the camera saw.
See the difference
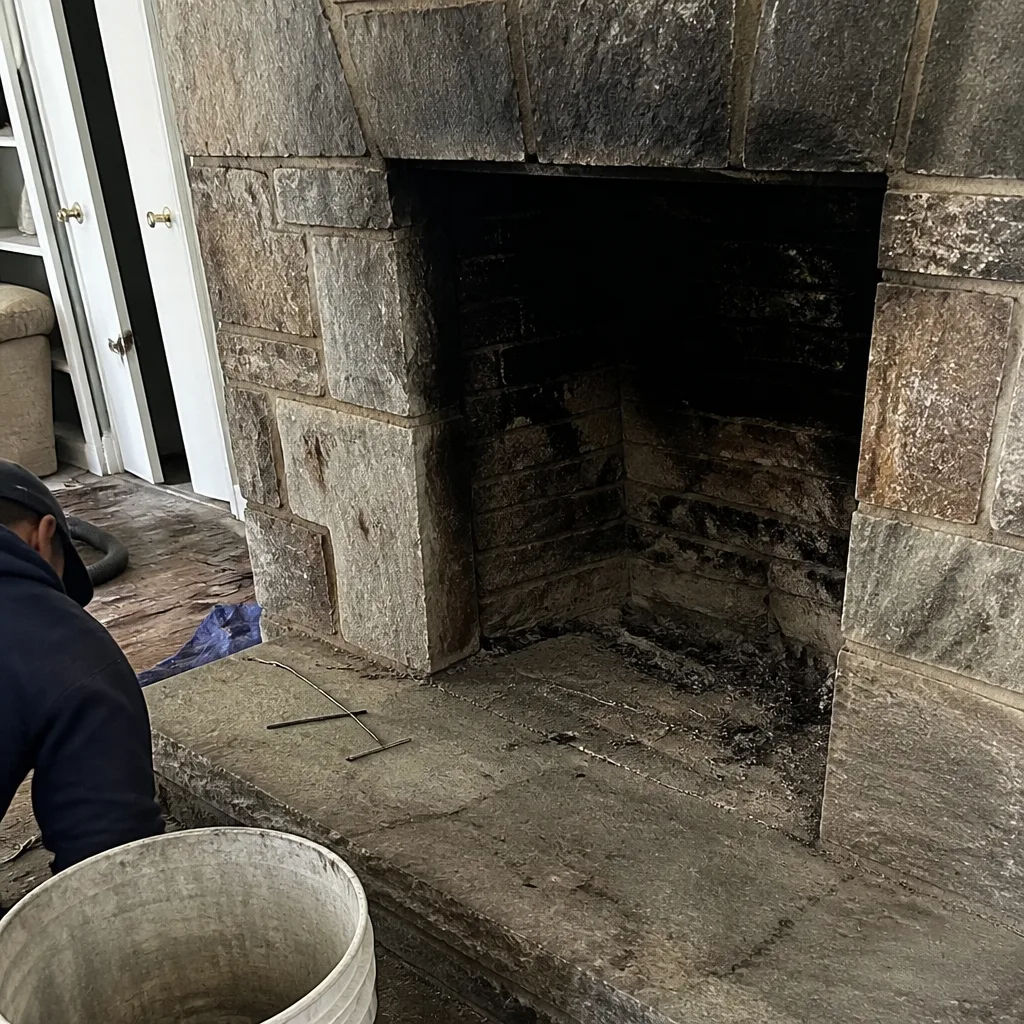 Before
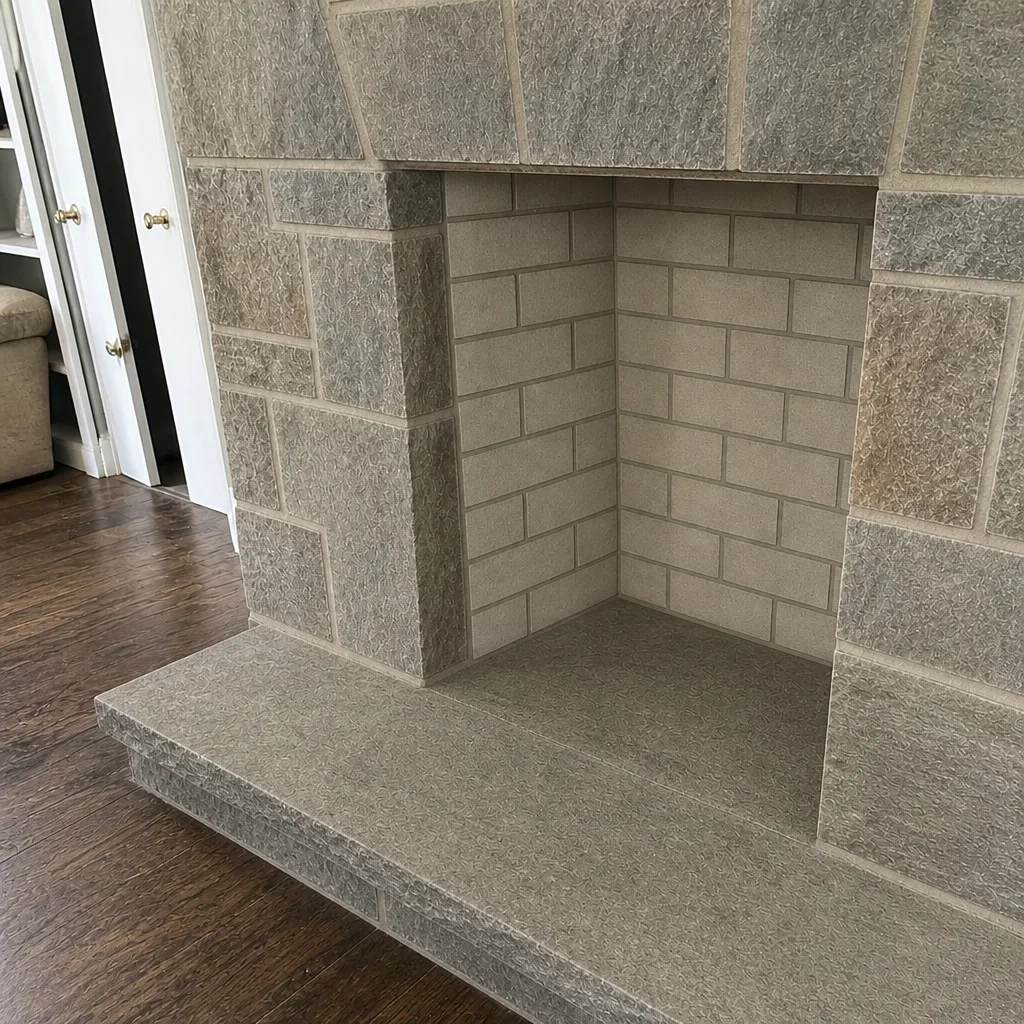 After
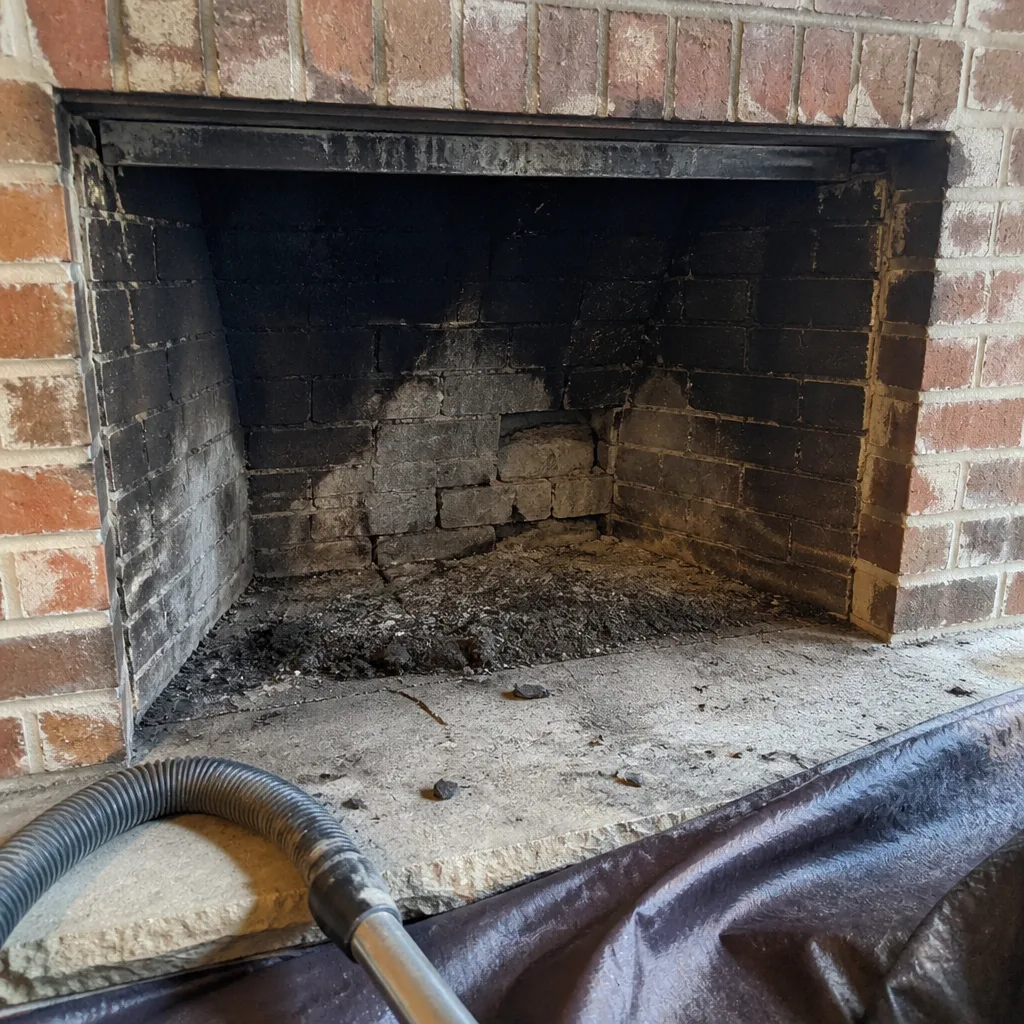
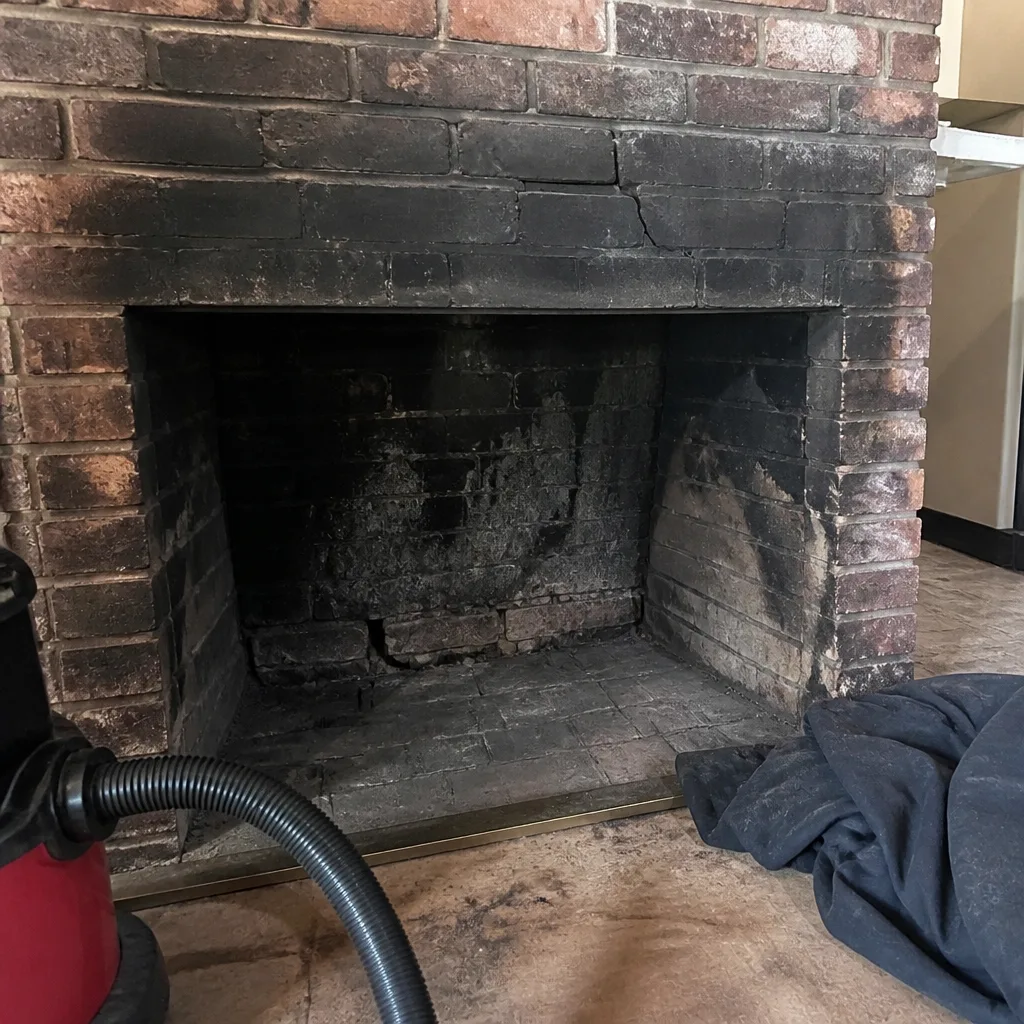 Before
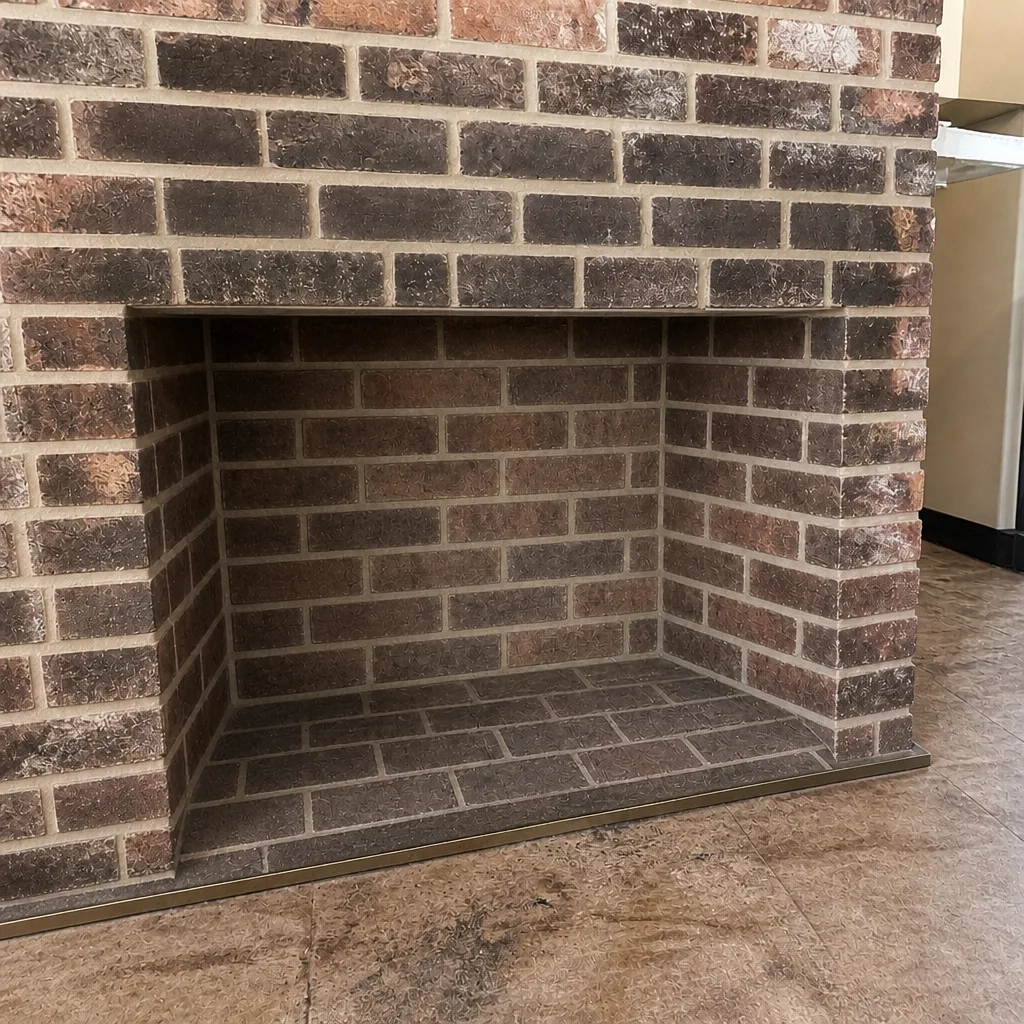 After
 Before
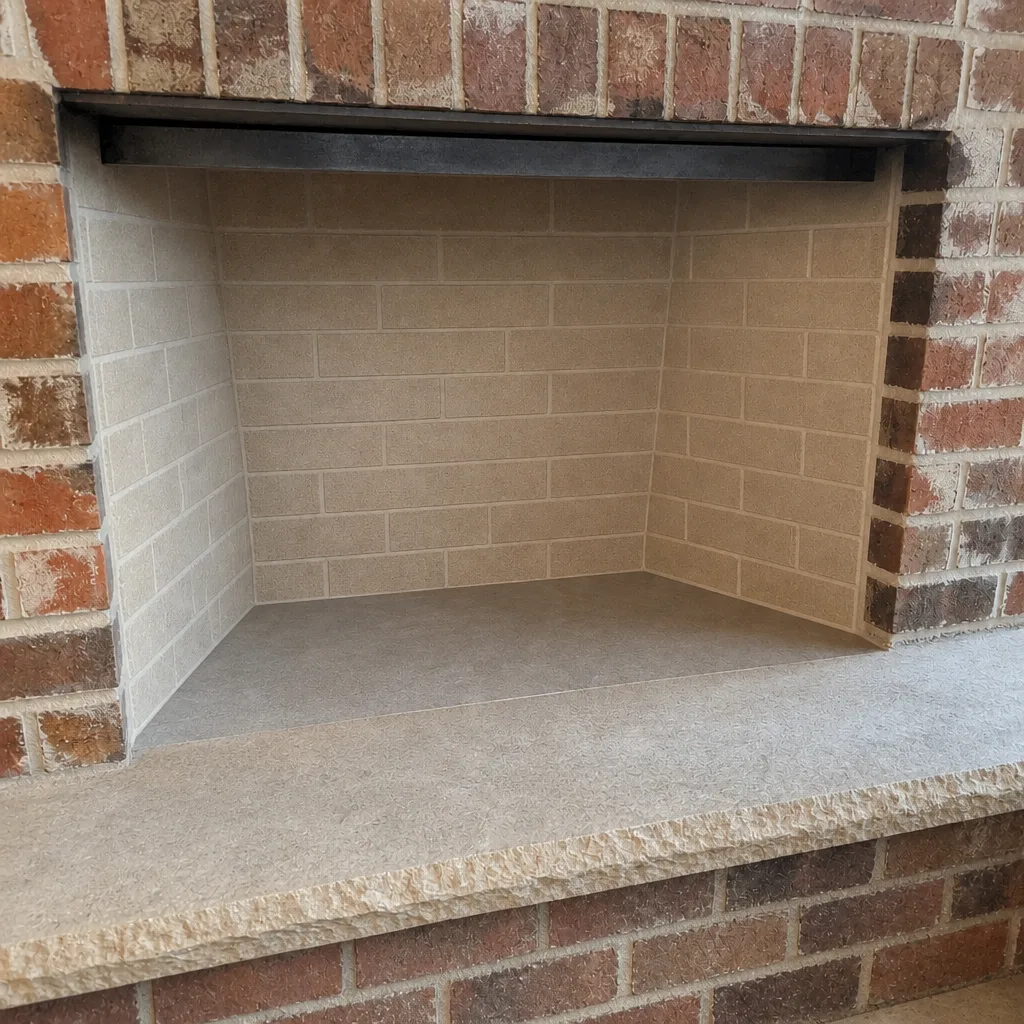 After
Common Mistakes to Avoid
- Burning wet or unseasoned wood. It’s the single largest cause of excess creosote. Dry wood, split and stacked to season, burns hotter and cleaner than wet wood, and matters more than any other habit in an East New York winter where a lot of fuel gets burned.
- Waiting for a problem before booking a sweep. By the time you smell smoke or see staining, the compounding damage is already underway. The checklist exists to catch problems while they’re cheap.
- Ignoring a crown crack because it “looks small.” Cracks in the crown look small in October and open dramatically after a few freeze-thaw cycles. The width that fits a fingernail is already a call for professional attention.
- Sealing chimney flashing with caulk instead of fixing it. Caulk over a lifted or rusted flashing joint looks fixed for a season and then fails again. Proper flashing repair involves the underlying metal, not just a fresh bead.
- Climbing onto the roof to inspect the chimney stack. The most common way a home inspection goes wrong is a fall from a roof. Binoculars from the ground catch most of what matters, and the rest is worth paying a trained technician to see.
- Burning a fire in a chimney that failed the smoke test. A reversed draft pushes carbon monoxide and smoke into the room. Don’t gamble on a draft you haven’t confirmed – test first, burn second.
- Booking a sweep every year regardless of how much you burn. A light-use hearth can wait if the flue is clean and creosote stays below 1/8 inch. A heavy-use hearth needs more than an annual sweep. Condition, not calendar, tells you when.
When to Call a Professional
The checklist above is safe for you to run because it’s observation, not repair. The moment you move from looking to fixing, it becomes a trained-technician job. Book a professional visit when any of these apply: creosote has reached 1/8 inch of thickness; you see a visible crack in the crown that could catch water or a gap at the crown-to-masonry joint; daylight shows through any mortar joint; the damper won’t seat flush; the firebox has cracked firebrick or crumbling joints; a smoke test fails or smoke blows back; or exterior masonry shows active spalling or a lean in the stack.
Two situations belong to a trained technician without exception: anything involving the flue liner above eye level, and anything involving repairing firebrick or a damaged firebox. These are E-E-A-T safety lines, not upsells. A damaged liner can allow heat and combustion gases into the structure of the house in ways you can’t see from the hearth. Fixing firebrick properly means the right material and the right bond, which is where our material brands come in – HeatShield, DuraFlex, Olympia Chimney, Famco, Copperfield, and Gelco are the professional-grade products you’d expect on this kind of work, not big-box substitutes.
Chimney Sweep East New York offers free estimates in East New York – call (855) 337-0826. Our technicians have up to 12 years of experience, we inspect before we recommend anything, and you get a photo report from the camera inspection so you can see exactly what we see. We answer 24/7, and we dispatch from 7am to 7pm, Sunday through Friday, closed Saturday.
Frequently Asked Questions
A routine chimney sweep is booked per job by written estimate, and the estimate is free, so there’s no mystery about the price before you commit. The sweep includes a camera inspection and a photo report so you know what the flue actually looks like. Call (855) 337-0826 for an exact quote – estimates are free.
Not always – and that’s the point. A cracked clay-tile liner can often be restored with a HeatShield liner resurfacing system rather than fully replaced with a flexible DuraFlex liner. You don’t get told either way without evidence: we don’t recommend a repair we didn’t see on camera. If the camera shows you the failure, you can decide on the fix knowing exactly what it is. Call (855) 337-0826 to book a standalone inspection.
Sweep when creosote reaches 1/8 inch of thickness anywhere in the flue, or once a year if you burn through the season. Heavy burning on wet or unseasoned wood needs more frequent sweeping than light burning on dry hardwood. The 1/8-inch rule is the real marker, and the photo record from each year tells you how fast your own chimney is building up. Call (855) 337-0826 for an exact quote – estimates are free.
Creosote builds in stages, and beyond 1/8 inch in glazed form it’s a real fire hazard. Water intrudes through a cracked crown, freeze-thaw cycles widen the cracks, and spalling begins to break down the brick face. Carbon monoxide can also back up into the house if the flue is blocked. None of these failures announce themselves early – that’s why the checklist exists. Call (855) 337-0826 to book a sweep before your next fire, and we’ll show you on camera what’s there.
You can safely run the observation checklist: crown, cap, flashing, exterior masonry, damper, smoke shelf, firebox, and the smoke test. You cannot safely repair what you find, and you can’t see the top of the flue without a camera. Bring the observations and the photos to the sweep, and let a trained technician handle anything past observation. That’s the deal that keeps you out of danger and keeps the costs low.
Run the exterior checklist in early fall, while temperatures are mild and before the first freeze, so you can spot crown cracks and early spalling while there’s still time to fix them. Brooklyn’s freeze-thaw cycling is the reason early fall inspection matters more here than in milder climates, and catching a crown crack in October is a much smaller job than catching it in February. Book the sweep before the season starts. Call (855) 337-0826. We answer 24/7. Fast dispatch from 7am to 7pm, Sunday through Friday.
The Bottom Line
A chimney checklist works because it replaces a generic reminder with specific pass/fail tests on each component. The crown, cap, flashing, exterior masonry, damper, smoke shelf, firebox, and liner each have a failure sign you can recognize – and the 1/8-inch creosote rule and the smoke test give you two concrete thresholds for booking professional help. In East New York, freeze-thaw cycling makes early crown and masonry inspection the highest-value habit you can build. Take the photos each year, keep them side by side, and book a proper chimney repair only when the evidence calls for it. Start with the Chimney Sweep East New York team before the first fire of the season – call (855) 337-0826 for a free estimate, a camera inspection, and a photo report you can keep.
Written by the team at Chimney Sweep East New York.